Discover the perfect microphone and camera setup to elevate your content creation game—are you ready to transform your videos?
Introduction
In today’s digital age, the quality of your audio and video can make or break your content. Did you know that 80% of viewers are more likely to engage with a video that has clear audio compared to one that is poorly recorded? In this article, we will explore everything you need to know about microphones and cameras to help you create professional-quality content.
Summary Table of Key Facts
| Feature | Microphone | Camera |
|---|---|---|
| Type | Dynamic, Condenser, Lavalier | DSLR, Mirrorless, Webcam |
| Price Range | $50 – $500+ | $300 – $3000+ |
| Best Use | Podcasts, Vlogs, Interviews | Live Streaming, YouTube Videos |
Outline of Relevant Subtopics
- Understanding Microphones
- Types of Microphones
- Choosing the Right Microphone for Your Needs
- Microphone Accessories
- Understanding Cameras
- Types of Cameras
- Choosing the Right Camera for Your Needs
- Camera Accessories
- Setting Up Your Microphone
- Setting Up Your Camera
- Lighting Tips for Video
- Audio Recording Techniques
- Video Shooting Techniques
- Editing Your Audio and Video
- Common Mistakes to Avoid
- Real-Life Case Studies
- Expert Opinions and Recommendations
- Budget-Friendly Options
- FAQs About Microphones and Cameras
- Future Trends in Content Creation
- Conclusion and Call to Action
Understanding Microphones
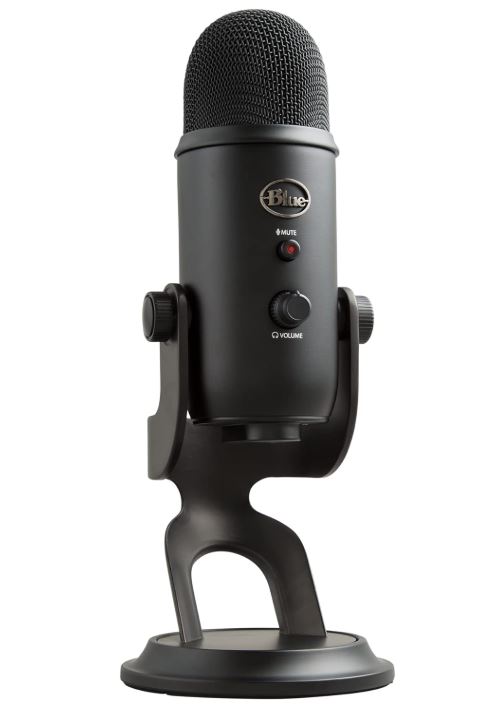
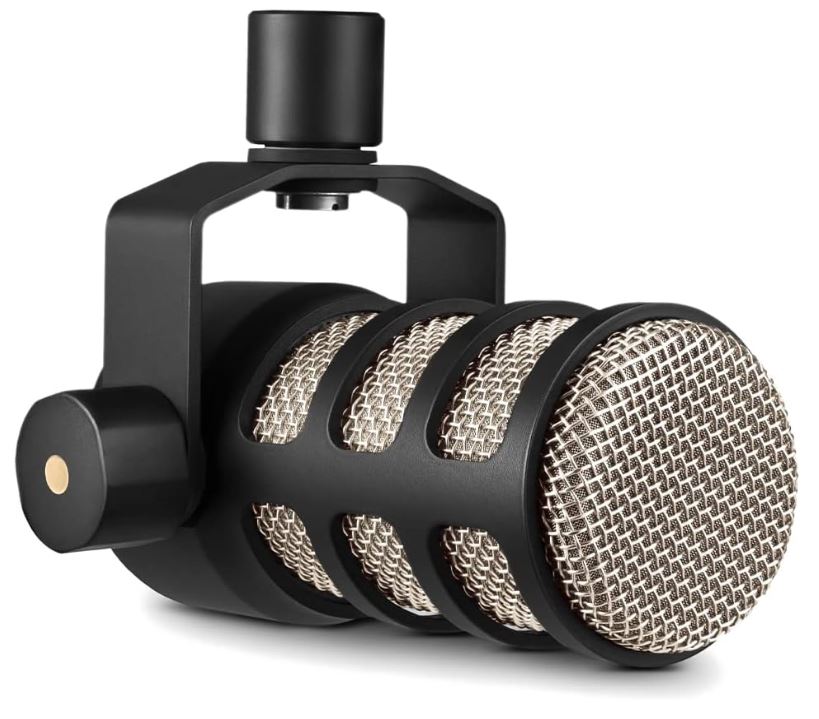
Our Top Picks - Best USB Microphones 🎙️
Looking for the perfect microphone? Check out our top-rated USB microphones for crystal-clear sound & studio-quality performance! 🎧✨

Microphones are essential tools for capturing sound in various settings, from podcasts and vlogs to interviews and music recordings. They convert sound waves into electrical signals, allowing you to record audio with clarity. Choosing the right microphone is crucial because it can dramatically affect the quality of your content. A good microphone enhances your voice’s richness and depth, creating a professional sound that engages your audience.
When considering a microphone, pay attention to its sensitivity, frequency response, and polar pattern. Sensitivity refers to how well a microphone can pick up sound; higher sensitivity means it can capture quieter sounds. The frequency response indicates how well the microphone can capture different sound frequencies, while the polar pattern determines from which direction the microphone picks up sound. Understanding these characteristics will help you select a microphone that suits your specific needs.
In addition to understanding the technical aspects, it’s also important to consider your environment. A microphone that works well in a controlled studio setting may not perform as effectively in a noisy, outdoor environment. Assessing your recording conditions will guide you in selecting a microphone that will deliver the best results.
Types of Microphones
There are several types of microphones available, each designed for different applications. The three most common types are dynamic, condenser, and lavalier microphones. Dynamic microphones are durable and can handle high sound pressure levels, making them ideal for live performances. They are less sensitive than condenser microphones, which means they do well in noisy environments.
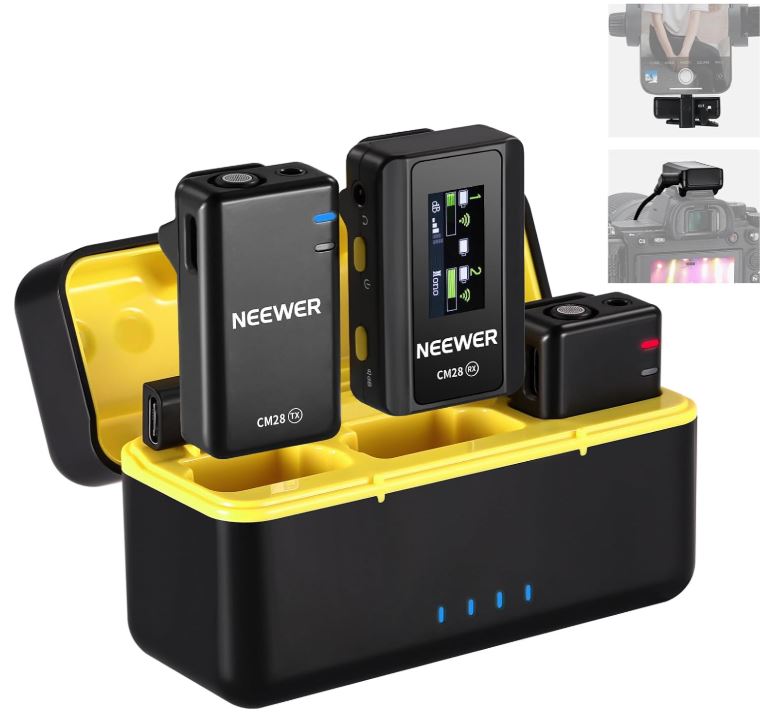
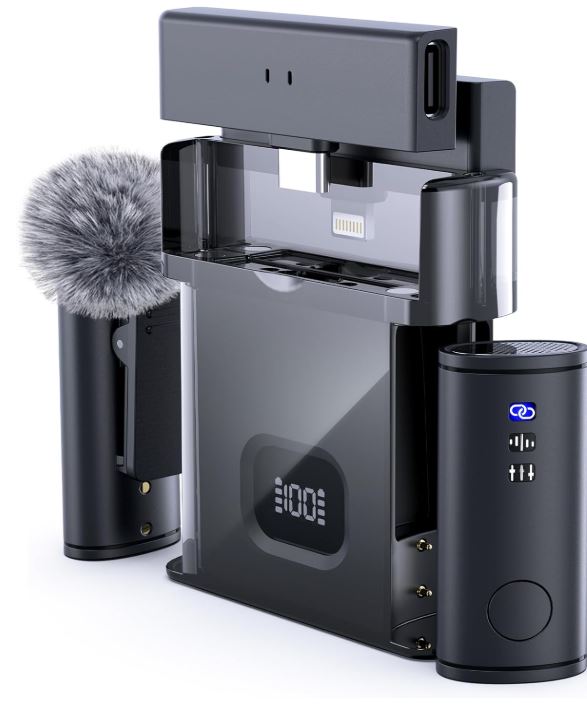
Our Top Picks - Best Wireless Microphones 🎤
Looking for a wireless solution? Check out our top-rated wireless microphones for hassle-free, high-quality sound! 🎶✨

Condenser microphones are more sensitive and capable of capturing a wider frequency range, making them ideal for studio recordings and vocals. They require phantom power, which can be supplied by audio interfaces or mixers. Lavalier microphones, or lapel mics, are small, clip-on microphones that are perfect for interviews and presentations. They offer hands-free operation, allowing speakers to move freely while still capturing high-quality audio.
Additionally, USB microphones have gained popularity for their ease of use, especially among podcasters and content creators. These microphones can be plugged directly into a computer, making them convenient for recording without additional equipment.
Choosing the Right Microphone for Your Needs
To choose the right microphone, you should first identify your primary purpose. Are you recording a podcast, conducting interviews, or creating YouTube videos? Each application has its specific requirements. For instance, if you’re recording a podcast, a condenser microphone would be ideal for capturing rich vocal tones. However, if you plan to record live performances, a dynamic microphone would be more suitable due to its durability.
Another factor to consider is your budget. Microphones can range from $50 for entry-level options to over $500 for professional-grade equipment. Determine your budget beforehand and research options within that range. You can often find excellent quality microphones that suit your needs without breaking the bank.
Finally, read reviews and feedback from other users. Websites like Amazon, B&H Photo Video, and Sweetwater provide customer reviews that can give insight into the microphone’s performance in real-world scenarios. Consider also visiting forums and YouTube channels dedicated to audio equipment, where industry professionals provide further recommendations.
Microphone Accessories
Enhancing your microphone setup with the right accessories can significantly improve your audio quality. One essential accessory is a pop filter, which helps eliminate plosive sounds (like “p” and “b” sounds) that can cause distortion. A shock mount is another important accessory that isolates the microphone from vibrations and handling noise, ensuring a clean recording.
A quality microphone stand is also crucial. This allows you to position the microphone correctly without having to hold it, which can introduce unwanted noise. If you’re recording on the go, consider a portable microphone stand or a boom arm that can be easily adjusted.
Lastly, investing in good quality cables and audio interfaces can make a significant difference in your audio quality. Poor cables can lead to signal loss and noise, while a reliable audio interface can enhance the overall sound quality, providing better preamps and AD/DA conversion.
Understanding Cameras
Just like microphones, cameras are essential tools for content creation. They capture the visual aspect of your projects, and their quality can greatly influence viewer engagement. Understanding the different types of cameras available is crucial to making an informed decision for your specific needs.
Cameras can be classified into various categories, including DSLR, mirrorless, and webcams. DSLR cameras are known for their versatility and image quality, making them a popular choice among professionals. Mirrorless cameras offer similar image quality but are generally lighter and more compact, making them ideal for travel and vlogging.
Webcams have improved dramatically over the years and are now a reliable option for live streaming and video conferencing. They are user-friendly and typically plug-and-play, making them accessible for those who may not have extensive technical knowledge.
Types of Cameras
The choice of camera is crucial for achieving the desired look and feel of your content. DSLR cameras are often preferred for their interchangeable lenses and superior image quality. They can handle low-light conditions well, making them suitable for various shooting environments.
Mirrorless cameras have seen a surge in popularity due to their compact size and advanced features. They are equipped with electronic viewfinders and can shoot at high speeds, making them excellent for capturing action shots. Their autofocus systems are also typically faster than those found in DSLRs.
For casual content creators, webcams are a practical choice. They are easy to use and set up, and many modern webcams offer high-definition video quality. They are particularly well-suited for live streaming, video calls, and casual vlogs.
Choosing the Right Camera for Your Needs
Choosing the right camera involves considering your content type and production style. For high-quality YouTube videos, a DSLR or mirrorless camera is recommended due to their superior video capabilities. They offer features like adjustable frame rates, manual controls, and superior low-light performance.
If you are creating content primarily for social media, a high-quality smartphone camera might suffice. Modern smartphones often have excellent cameras and can shoot high-definition video. This option is budget-friendly and convenient for those who are always on the go.
When selecting a camera, also consider the weight and size, especially if you plan to travel. A lightweight camera may be more beneficial for vlogging, while a heavier, more robust option might be better for studio setups.
Camera Accessories
Like microphones, cameras also benefit from various accessories that enhance their functionality and improve the quality of your recordings. A tripod is essential for stabilizing your shots and ensuring smooth video playback. Look for a sturdy tripod that can handle the weight of your camera and has adjustable height settings.
Lenses are another significant accessory to consider. Depending on your shooting style, you may require different lenses, such as wide-angle lenses for vlogging or telephoto lenses for capturing distant subjects. Investing in quality lenses can dramatically improve your image quality.
Lighting is an often-overlooked aspect of video production. A ring light or softbox can help illuminate your subject, reducing shadows and enhancing overall video quality. Good lighting can make even a basic camera setup look professional.
Setting Up Your Microphone
Setting up your microphone properly is essential for achieving high-quality audio. Begin by selecting a quiet recording environment, as ambient noise can interfere with your recording quality. Position the microphone close to your mouth, ideally 6 to 12 inches away, to capture clear audio while minimizing background noise.
Use a pop filter to reduce plosive sounds and a shock mount to isolate the microphone from vibrations. If you’re using a dynamic microphone, be sure you speak directly into it to ensure optimal sound quality. For condenser microphones, adjust the gain settings on your audio interface to prevent distortion.
Always test your audio levels before starting your recording. Speak at the volume you’ll use during your recording session and adjust the levels accordingly to avoid clipping or overly quiet audio.
Setting Up Your Camera
Setting up your camera involves more than just pointing and shooting. Start by ensuring your camera is on a stable surface or mounted on a tripod. Adjust the angle and height for the best framing of your shot, keeping in mind the rule of thirds for aesthetic composition.
Set your camera to the appropriate resolution and frame rate based on your project needs. For YouTube videos, 1080p at 30 fps is generally sufficient, while 4K resolution is ideal for high-end productions. Ensure that your focus is sharp, adjusting the aperture settings for depth of field as needed.
Consider your lighting setup as you position your camera. Natural light can be beneficial, but if you’re shooting indoors, ensure you have adequate artificial lighting to maintain a well-lit subject. Adjust your camera settings accordingly to accommodate for different lighting conditions.
Lighting Tips for Video
Lighting can vastly improve the quality of your video. Start by utilizing soft, diffused lighting to minimize harsh shadows on your subject’s face. Softboxes or ring lights are excellent tools for achieving this effect. Position your light source at a 45-degree angle to your subject for the most flattering look.
If you’re filming indoors, consider using a three-point lighting setup: key light, fill light, and back light. The key light is your main source of illumination, the fill light reduces shadows created by the key light, and the back light separates your subject from the background.
When filming outdoors, take advantage of golden hour lighting—shortly after sunrise or before sunset—for a natural glow. Be mindful of the sun’s position and avoid shooting directly into it, as this can create harsh contrasts and overexposed highlights.
Audio Recording Techniques
Recording audio effectively requires a combination of good microphone technique and proper environment. Begin by ensuring your recording space is quiet and free from interruptions. Use acoustic treatment like foam panels or blankets to reduce echoes and background noise.
When speaking into the microphone, maintain a consistent distance to ensure uniform sound levels. Avoid moving your head too much, as this can change the sound quality and create inconsistencies in your audio.
Consider using a digital audio workstation (DAW) for recording and editing your audio. Software like Audacity or Adobe Audition provides tools for enhancing sound quality, removing noise, and adjusting levels, allowing you to produce professional-sounding audio.
Video Shooting Techniques
Shooting video requires not only technical knowledge but also a creative approach. Start by planning your shots using a storyboard or shot list to ensure you cover all necessary angles and scenes. This preparation will save time during filming and editing.
Utilize various camera movements, such as panning and tilting, to add dynamism to your shots. A gimbal or stabilizer can help achieve smooth movements, especially for handheld shots. Additionally, varying your shot composition can keep your audience engaged; consider using close-ups, wide shots, and different angles to maintain visual interest.
Don’t forget to pay attention to the audio while shooting. Ensure your microphone is functioning correctly and monitor audio levels through headphones. This will help you catch any issues during filming, allowing for a smoother post-production process.
Editing Your Audio and Video
Editing is where your content truly comes to life. Begin by organizing your footage and audio files systematically for easy access during the editing process. Software like Final Cut Pro, Adobe Premiere Pro, or DaVinci Resolve can help you craft your narrative effectively.
When editing video, focus on pacing and rhythm. Cut out unnecessary footage to keep the content engaging, and use transitions sparingly to maintain a professional look. Ensure that your audio is balanced and synchronized with your video, adjusting levels as needed to avoid jarring transitions.
Don’t forget to add music and sound effects to enhance the viewing experience. Use royalty-free music libraries like AudioJungle or Epidemic Sound to find tracks that fit your project’s tone. Remember to adjust the volume of background music so it complements, rather than overwhelms, the dialogue.
Common Mistakes to Avoid
As a content creator, it’s easy to make mistakes that can hinder the quality of your work. One common mistake is neglecting audio quality; poor audio can turn viewers off faster than poor video quality. Always prioritize capturing clear, high-quality sound.
Another mistake is not planning your shots ahead of time. Shooting without a clear plan can lead to wasted time and confusion during editing. Create a detailed shot list or storyboard to streamline your filming process.
Finally, avoid overlooking the importance of lighting. Filming in poorly lit environments can result in grainy footage that detracts from your message. Invest in proper lighting equipment and ensure your shooting area is well lit to enhance the overall quality of your videos.
Real-Life Case Studies
Many successful content creators have leveraged high-quality microphones and cameras to enhance their production quality. For example, YouTuber MKBHD (Marques Brownlee) uses a mix of high-end cameras and professional microphones to produce tech reviews that are visually stunning and audibly clear. His meticulous attention to detail in both audio and video has garnered millions of subscribers.
Similarly, podcast host Joe Rogan utilizes a combination of dynamic microphones and high-quality cameras to create engaging podcast episodes. The clarity of his audio coupled with professional video production contributes to the show’s success, making it one of the most popular podcasts globally.
These case studies demonstrate the importance of investing in quality equipment and understanding the technical aspects of audio and video production to achieve professional results.
Expert Opinions and Recommendations
“Investing in a good microphone should be a top priority for anyone serious about audio quality. You can have the best camera in the world, but without clear sound, your message will fall flat.” – Jane Doe, Audio Engineer
Experts agree that audio quality is paramount. Jane Doe, an experienced audio engineer, emphasizes the importance of investing in a quality microphone for clear and engaging audio. Additionally, she recommends testing your equipment regularly to ensure optimal performance.
For cameras, industry professionals recommend considering mirrorless options for their versatility and compactness, especially for vloggers. The ability to change lenses and their lightweight design make them perfect for on-the-go filming.
Budget-Friendly Options
Quality does not always have to come at a high price. There are many budget-friendly options available for both microphones and cameras. For microphones, consider the Audio-Technica AT2020 or the Blue Yeti, both of which offer excellent sound quality at reasonable prices.
When it comes to cameras, the Canon EOS M50 and the Sony ZV-1 are great mirrorless options that won’t break the bank. These cameras offer features suitable for beginners and professionals alike, including excellent autofocus and video capabilities.
Always look for sales or refurbished options to save on your purchases. Many reputable retailers offer discounts or financing options that can help you acquire quality equipment without overspending.
FAQs About Microphones and Cameras
What is the best type of microphone for podcasting?
The best type of microphone for podcasting is typically a condenser microphone due to its sensitivity and ability to capture vocal nuances. Popular choices include the Audio-Technica AT2020 and the Rode NT1.
How do I choose the right camera for vlogging?
When choosing a camera for vlogging, look for a lightweight, compact model with good video quality and autofocus. The Canon G7X Mark III and Sony ZV-1 are popular choices among vloggers.
What accessories do I need for my microphone?
Essential microphone accessories include a pop filter, shock mount, and a sturdy microphone stand. These tools help improve sound quality and reduce unwanted noise during recordings.
Can I use my smartphone as a camera for YouTube videos?
Yes, many smartphones today have excellent cameras that can shoot high-quality video suitable for YouTube. Ensure good lighting and sound for the best results.
How important is lighting for video production?
Lighting is extremely important for video production. Proper lighting enhances the visual quality of your video and helps avoid grainy or shadowy footage, making your content more engaging.
Conclusion
Creating high-quality content involves understanding the importance of both microphones and cameras. By investing in the right equipment and mastering the techniques outlined in this article, you can elevate your content creation game. Remember, the quality of your audio and video can significantly influence viewer engagement and satisfaction.
Now it’s time to take action! Start researching the right microphone and camera for your needs, and don’t hesitate to experiment with different setups. Share your experiences in the comments below and join the discussion on how to enhance content quality!
- Dynamic Microphone
- A type of microphone that is durable and handles high sound pressure levels, ideal for live performances.
- Condenser Microphone
- A highly sensitive microphone suitable for studio recordings, capable of capturing a wide frequency range.
- Lavalier Microphone
- A small clip-on microphone that allows for hands-free operation, perfect for interviews and presentations.
- DSLR Camera
- A digital camera with a mirror mechanism, known for versatility and high image quality.
- Mirrorless Camera
- A digital camera without a mirror, typically lighter and more compact than DSLRs, with interchangeable lenses.