Are you tired of poor sound quality ruining your recordings? Discover the ultimate guide to choosing the best microphone for record!
Introduction to Microphones for Recording
When it comes to recording, the microphone you choose can make all the difference. A good microphone can capture the nuances of your voice or instrument, ensuring your recordings sound professional and polished. With a myriad of options available, how do you determine which microphone is the best for your specific recording needs?
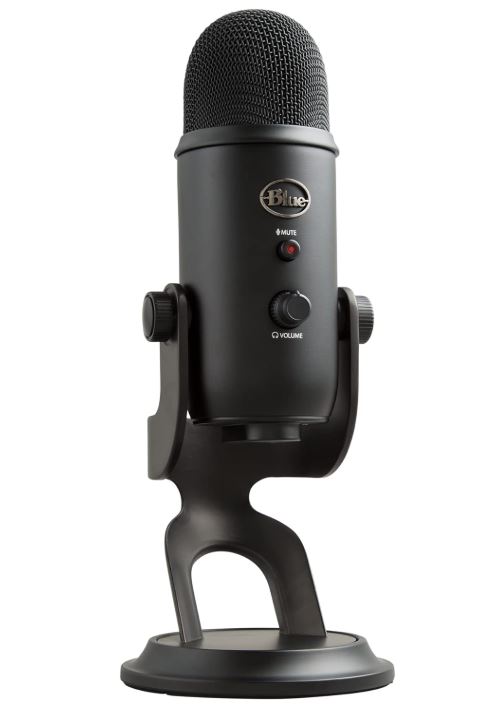
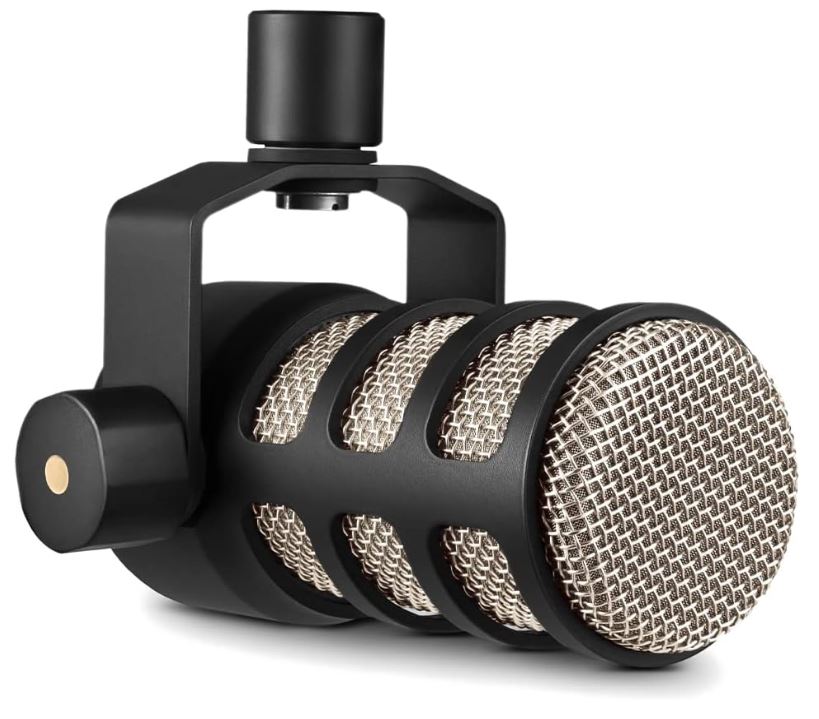
Our Top Picks - Best USB Microphones 🎙️
Looking for the perfect microphone? Check out our top-rated USB microphones for crystal-clear sound & studio-quality performance! 🎧✨

According to a recent study, 70% of amateur recording artists believe that their microphone choice significantly affects their sound quality. This statistic highlights the importance of selecting the right equipment for your recording endeavors.
In this comprehensive guide, we will explore the different types of microphones, how to choose the right one, and tips for optimizing your recording environment. Let’s dive into the world of microphones!
Summary Table of Key Facts
| Type of Microphone | Best For | Price Range |
|---|---|---|
| Dynamic Microphones | Vocals, Instruments | $50 – $500 |
| Condenser Microphones | Vocals, Studio Recording | $100 – $3000 |
| Ribbon Microphones | Vocals, Acoustic Instruments | $200 – $5000 |
Understanding Microphones: An Overview
Microphones are devices that convert sound waves into electrical signals. They come in various types and are tailored for different recording situations. Understanding the nuances between these types will help you make an informed decision.
The two primary categories of microphones are dynamic and condenser. Dynamic microphones are robust and ideal for live performances, while condenser microphones are sensitive and perfect for studio recordings. Each type has its unique applications and benefits.
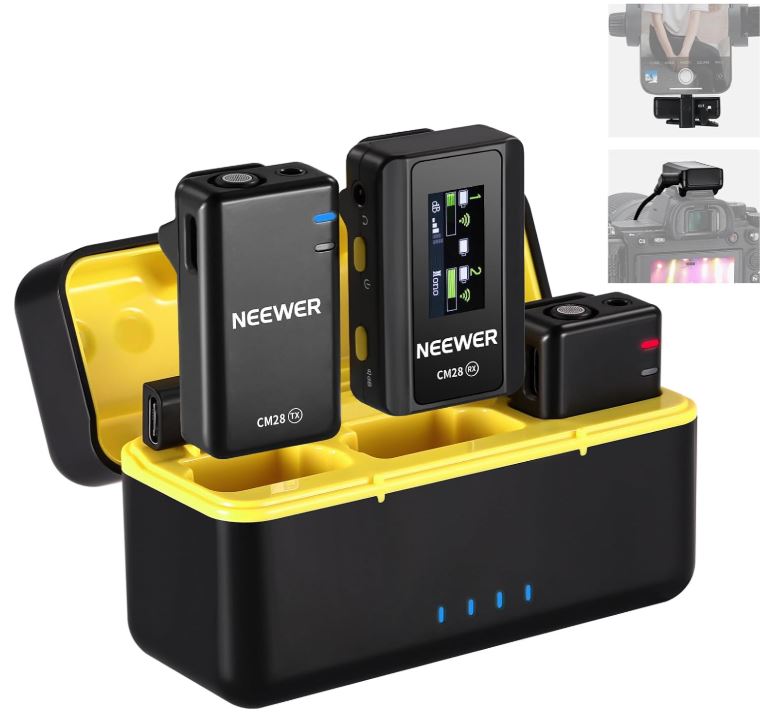
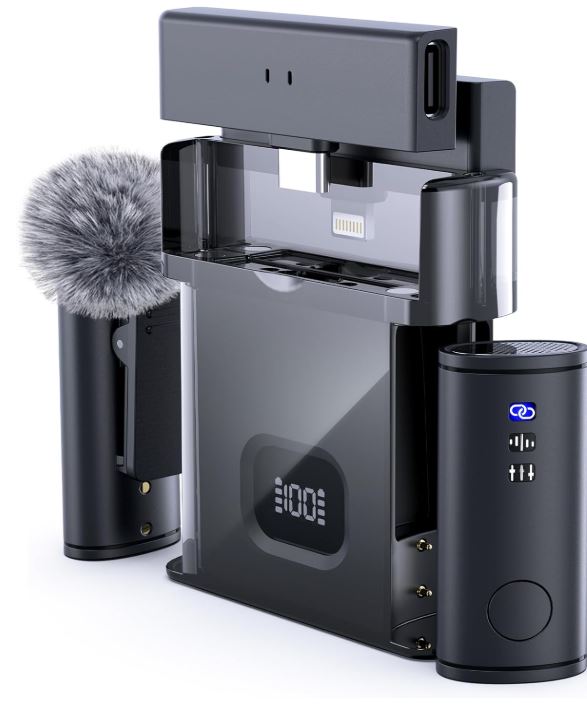
Our Top Picks - Best Wireless Microphones 🎤
Looking for a wireless solution? Check out our top-rated wireless microphones for hassle-free, high-quality sound! 🎶✨

Furthermore, microphones can be categorized by their pickup patterns, which determine how they capture sound from different directions. Common pickup patterns include cardioid, omnidirectional, and bidirectional.
Types of Microphones
Dynamic Microphones
Dynamic microphones use a diaphragm attached to a coil of wire, which is placed in a magnetic field. When sound waves hit the diaphragm, it moves, generating an electrical signal. These microphones are known for their durability and resistance to moisture, making them ideal for live performances.
They excel in handling high sound pressure levels, which makes them a popular choice for vocals and instruments such as drums. Some notable models include the Shure SM58 and the Sennheiser e835.
Dynamic microphones are generally more affordable than their condenser counterparts, making them accessible for beginners and those on a budget.
Condenser Microphones
Condenser microphones use a different mechanism, involving a diaphragm that is placed very close to a backplate, forming a capacitor. When sound waves hit the diaphragm, it changes the capacitance, producing a signal. They are more sensitive than dynamic microphones and capture a broader frequency range.
These microphones are favored in studio settings for recording vocals, acoustic instruments, and even amplifiers. Popular models include the Audio-Technica AT2020 and the Neumann U87.
While generally more expensive, the investment in a quality condenser microphone can significantly enhance the clarity and richness of your recordings.
Ribbon Microphones
Ribbon microphones utilize a thin metal ribbon placed in a magnetic field to generate sound. They are known for their warm, vintage sound, making them ideal for vocals and acoustic instruments. Ribbon microphones tend to have a limited frequency response and are more fragile than dynamic and condenser models.
Some well-known ribbon microphones include the Royer R-121 and the AEA R84. These models can be quite pricey but offer a distinct sound quality that many audio professionals cherish.
Ribbon microphones are not typically recommended for beginners due to their fragility and the need for a higher gain preamp.
Choosing the Right Microphone for Your Needs
When selecting a microphone, it’s essential to consider the type of recording you’ll be doing, your budget, and the acoustic environment. Here are some key factors to take into account:
- Purpose: Are you recording vocals, instruments, or podcasts? Each application may require different microphone types.
- Budget: Determine how much you are willing to invest. Remember, higher-priced microphones often provide better quality.
- Environment: Consider the acoustics of your recording space. Some microphones perform better in untreated rooms, while others require a controlled environment.
The Importance of Microphone Placement
How you position your microphone can drastically affect the quality of your recordings. Proper placement can enhance clarity and reduce unwanted noise. Here are some tips:
- Distance: For vocals, positioning the microphone 6 to 12 inches away can help capture a balanced sound. Closer placement may result in a bass-heavy tone.
- Angle: Experiment with angles to find the best sound. For vocals, slightly tilting the microphone can reduce plosive sounds.
- Environment: Ensure your recording area is quiet and free from background noise. Use soundproofing where necessary.
Microphone Accessories You Need
Investing in quality accessories can significantly enhance your recording experience. Here are some essentials:
- Pop Filter: This accessory helps reduce plosive sounds and sibilance, leading to cleaner recordings.
- Shock Mount: A shock mount isolates the microphone from vibrations and handling noise, resulting in clearer sound.
- Microphone Stand: A sturdy stand keeps your microphone stable and at the right height for optimal recording.
Setting Up Your Recording Environment
Your recording environment plays a crucial role in the quality of your recordings. Here’s how to set it up effectively:
First, choose a quiet room with minimal ambient noise. If possible, record in a space with carpets, curtains, and soft furnishings to absorb sound.
Next, consider using acoustic panels to reduce echo and reverb. These panels can help create a more controlled recording environment.
Finally, ensure all electronic equipment is properly grounded to minimize interference and noise.
Microphone Techniques for Various Applications
Recording Vocals
When recording vocals, it’s essential to capture the nuances of the voice. Position the microphone at mouth level, about 6 to 12 inches away, to achieve a balanced sound. Additionally, using a pop filter can help minimize plosive sounds.
Experiment with different microphone angles to find the sweet spot. Sometimes, tilting the microphone slightly can reduce sibilance and enhance clarity.
Finally, consider recording multiple takes to capture the best performance. Layering different takes can create a fuller, more dynamic vocal track.
Recording Instruments
Different instruments require different microphone techniques. For example, when recording acoustic guitar, place the microphone near the sound hole for warmth or closer to the fretboard for a brighter sound.
For drums, use multiple microphones to capture the full range of sounds. A combination of overhead and close miking techniques can provide a balanced mix.
Experimentation is key when recording instruments. Don’t be afraid to try different placements and settings to achieve the desired sound.
Podcasting and Voiceovers
For podcasts and voiceovers, clarity and warmth are crucial. A condenser microphone is often recommended for its sensitivity and wide frequency response.
Position the microphone at a comfortable distance (around 6 inches) from your mouth to ensure clear audio without distortion.
Incorporating a pop filter and shock mount can further enhance recording quality and reduce unwanted noise.
Real-Life Case Study: Successful Recordings
To illustrate the impact of microphone choice, let’s consider a case study of a budding musician who transitioned from an entry-level dynamic microphone to a professional condenser microphone.
Initially, the musician recorded demos using a low-cost dynamic mic, resulting in recordings that lacked clarity and depth. After investing in a high-quality condenser microphone, the difference was astounding. The new recordings showcased richer vocals and a more vibrant sound.
This case demonstrates that the right microphone can significantly enhance the overall quality of recordings, leading to more professional outcomes.
Interactive Checklist for Choosing a Microphone
- Define the primary use (vocals, instruments, podcasts).
- Set a budget for your microphone purchase.
- Research different types of microphones.
- Consider additional accessories needed.
- Plan your recording environment setup.
Frequently Asked Questions
What type of microphone is best for recording vocals?
The best type of microphone for recording vocals is typically a condenser microphone due to its sensitivity and wide frequency response, which captures the nuances of the voice effectively.
Do I need a pop filter for my microphone?
Yes, a pop filter is recommended as it helps reduce plosive sounds (like ‘p’ and ‘b’) that can create distortion in recordings, leading to a cleaner sound.
Can I use a dynamic microphone for studio recording?
Yes, dynamic microphones can be used for studio recording, especially for live instruments or vocals that require high sound pressure levels. However, condenser microphones are often preferred for their sensitivity.
How much should I spend on a microphone?
The amount you should spend on a microphone depends on your needs and budget. Entry-level microphones can cost as little as $50, while professional models can exceed $3000. Aim for a balance between quality and affordability.
Glossary of Key Terms
- Dynamic Microphone
- A type of microphone that uses electromagnetic induction to convert sound waves into electrical signals, known for durability and versatility.
- Condenser Microphone
- A type of microphone that uses a capacitor to convert sound waves into electrical signals, favored for its sensitivity and clarity.
- Pickup Pattern
- The directional sensitivity of a microphone, determining how it captures sound from different angles.
Conclusion
Choosing the right microphone for recording is crucial in achieving high-quality sound. By understanding the various types of microphones, their applications, and how to optimize your recording environment, you can significantly enhance your recordings. Whether you are a seasoned professional or a beginner, investing time in selecting the right microphone will pay off in the long run.
Now that you have all the information you need, it’s time to take action! Consider your recording needs, set a budget, and start exploring the world of microphones. If you have any questions or would like to share your experiences, feel free to comment below!