Wondering how to plug a microphone into your iPhone? You’re not alone—many users seek better audio quality for calls and recordings.
Introduction to Connecting Microphones to iPhones
In an age where communication is key, having high-quality audio can make all the difference. Whether you’re a podcaster, musician, or just someone who wants clearer phone calls, using an external microphone can elevate your audio experience. Did you know that up to 70% of smartphone users prefer using an external microphone for better sound quality? In this comprehensive guide, we will explore everything you need to know about plugging a microphone into your iPhone, including types of microphones, necessary adapters, and troubleshooting tips.
| Key Facts | Details |
|---|---|
| Microphone Types | Dynamic, Condenser, USB, Lavalier |
| Common Adapters | Lightning to 3.5mm, USB-C to 3.5mm |
| Application Examples | Recording, Live Streaming, Voice Calls |
Outline of Topics Covered
- Understanding Different Types of Microphones
- Why Use an External Microphone?
- Essential Accessories for Microphone Setup
- Connecting a 3.5mm Microphone to iPhone
- Using USB Microphones with iPhone
- Best Microphones for iPhone: Our Top Picks
- Setting Up Microphones for Different Applications
- Common Issues and Troubleshooting Tips
- Enhancing iPhone Audio with Apps
- Microphone Placement for Best Sound Quality
- Using Wireless Microphones with iPhone
- Understanding Gain and Input Levels
- Recording Audio on iPhone: Step-by-step Guide
- Live Streaming with an External Microphone
- How to Choose the Right Microphone for Your Needs
- Microphone Maintenance: Tips and Tricks
- User Reviews: Real Experiences with iPhone Microphones
- Comparing Built-in vs External Microphone Quality
- Future Trends in Microphone Technology
- Expert Opinions on Microphone Usage
Understanding Different Types of Microphones
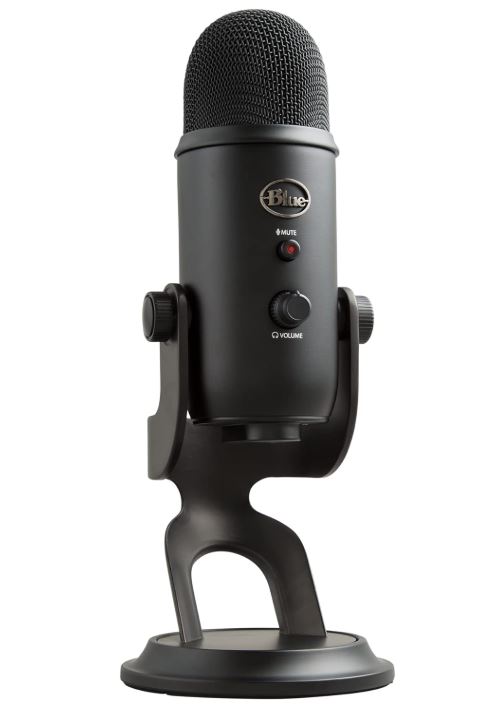
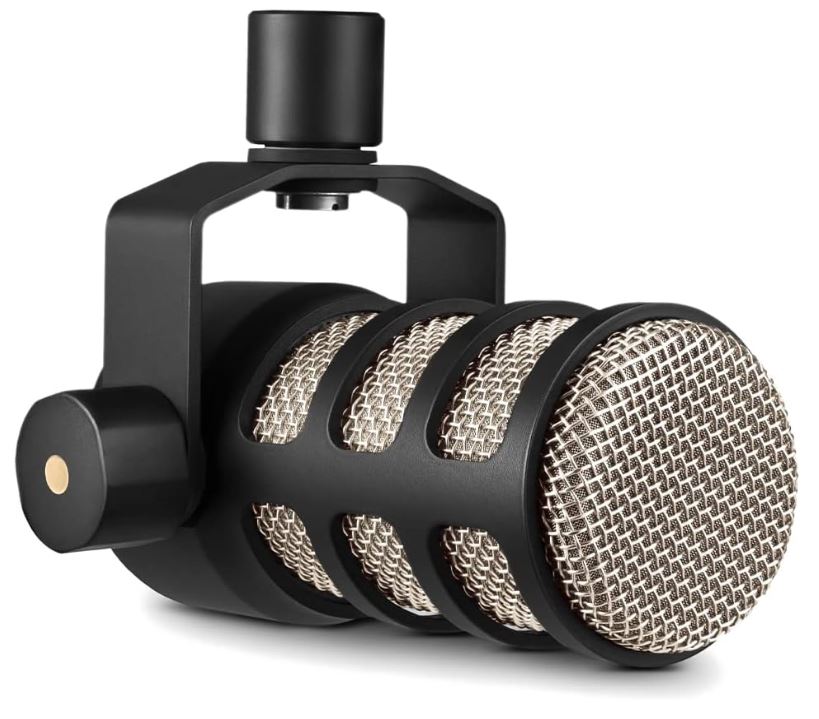
Our Top Picks - Best USB Microphones 🎙️
Looking for the perfect microphone? Check out our top-rated USB microphones for crystal-clear sound & studio-quality performance! 🎧✨

When it comes to microphones, variety is the name of the game. There are several types of microphones, each designed for specific uses.
- Dynamic Microphones: Ideal for live performances, they are durable and can handle high sound pressure levels.
- Condenser Microphones: These are sensitive and great for studio recordings, capturing a broad range of frequencies.
- Lavalier Microphones: Small and clip-on, perfect for interviews and presentations.
- USB Microphones: Convenient for direct connection to computers and iPhones with the right adapter.
Choosing the right microphone depends largely on your specific needs and the environment in which you will be using it. For example, if you’re recording a podcast at home, a condenser microphone might be best, while a dynamic microphone is better suited for a live setting.
Why Use an External Microphone?
Using an external microphone can significantly enhance audio quality, which is crucial for professional recordings, podcasts, or even casual video calls. The built-in microphones on iPhones, while decent, often pick up background noise and lack the clarity that an external mic can provide.
Moreover, external microphones offer more versatility in terms of sound capture. They can be positioned closer to the sound source, reducing ambient noise and improving overall audio fidelity.
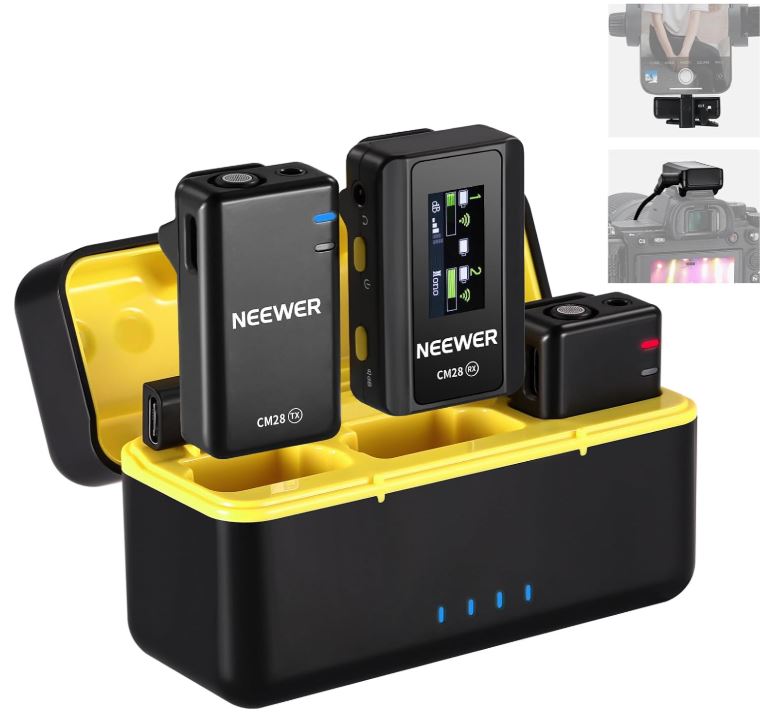
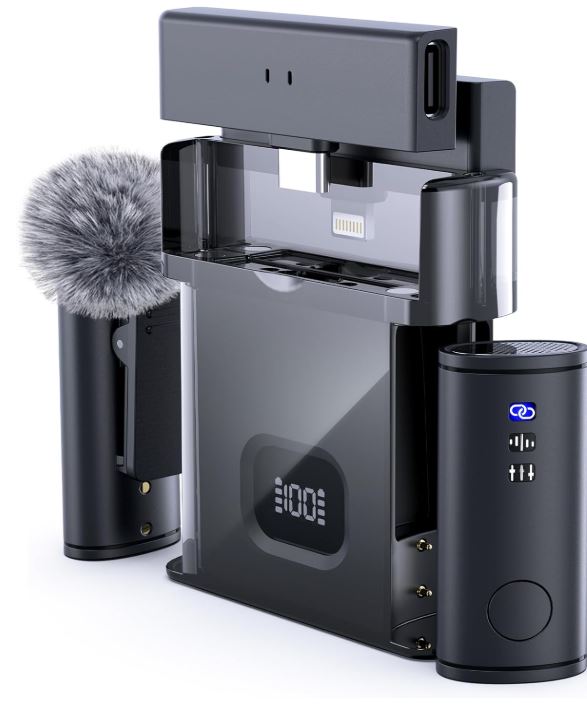
Our Top Picks - Best Wireless Microphones 🎤
Looking for a wireless solution? Check out our top-rated wireless microphones for hassle-free, high-quality sound! 🎶✨

In fact, a study by the Audio Engineering Society showed that using an external microphone can improve sound quality by over 50% in certain conditions. This makes it a worthwhile investment for anyone serious about their audio quality.
Essential Accessories for Microphone Setup
Before you connect your microphone, ensure you have the necessary accessories. This includes the right cables and adapters to facilitate a smooth connection.
- Lightning to 3.5mm Adapter: Essential for connecting traditional microphones to newer iPhones lacking a headphone jack.
- USB-C to 3.5mm Adapter: Useful for iPhones equipped with a USB-C port.
- Microphone Stands and Pop Filters: Optional accessories that can enhance recording quality by minimizing unwanted noise and vibration.
Having these accessories on hand not only simplifies the connection process but also enhances the overall recording experience.
Connecting a 3.5mm Microphone to iPhone
Connecting a 3.5mm microphone to your iPhone is straightforward as long as you have the right adapter. Follow these steps:
- Plug your 3.5mm microphone into the Lightning to 3.5mm adapter.
- Connect the adapter to your iPhone’s Lightning port.
- Open your audio recording app and test the microphone.
If your microphone isn’t working, check the connection and ensure the microphone is compatible with iOS devices. Not all microphones will be recognized.
Using USB Microphones with iPhone
USB microphones provide excellent audio quality and are favored by many podcasters and musicians. To use a USB microphone with your iPhone, you’ll need a USB adapter.
- Connect the USB microphone to a USB adapter.
- Plug the adapter into the iPhone’s Lightning port.
- Launch your preferred recording application and adjust the settings as necessary.
It’s crucial to ensure your USB microphone is compatible with iOS, as not all microphones will function properly. For instance, the Blue Yeti is a popular choice that works well with iPhones.
Best Microphones for iPhone: Our Top Picks
Choosing the right microphone can be overwhelming given the vast options available. Here are our top picks:
| Microphone | Type | Best For |
|---|---|---|
| Rode VideoMic Me-L | Condenser | Vlogging, Interviews |
| Shure MV88 | Condenser | Music Recording |
| Zoom H1n | Handheld Recorder | Field Recording |
These microphones have been highly rated for their audio quality, portability, and ease of use with iPhones. Always consider your specific needs when selecting a microphone.
Setting Up Microphones for Different Applications
Microphones can be used in various applications, each requiring a different setup for optimal sound quality. Here’s how to set up for some common scenarios:
- Podcasts: A condenser microphone is ideal for recording rich audio. Position it about 6–12 inches from your mouth for clear sound.
- Interviews: Lavalier microphones work best since they clip onto clothing and provide hands-free operation.
- Live Streaming: Dynamic microphones are perfect for these situations as they minimize background noise.
By adapting your setup for the specific application, you can ensure the best audio quality, which is vital for engaging your audience.
Common Issues and Troubleshooting Tips
Even with the right equipment, you may encounter issues when connecting your microphone. Here are some common problems and solutions:
- No Sound: Ensure the microphone is securely plugged in and the app is set to use it as the input device.
- Poor Audio Quality: Check the microphone placement and make sure there is no background noise interfering with the sound.
- Compatibility Issues: Not all microphones are compatible with iOS devices; check the manufacturer’s specifications.
Regularly updating your iPhone’s software can also resolve various audio issues, ensuring optimal performance.
Enhancing iPhone Audio with Apps
To get the most out of your microphone, consider using audio enhancement apps. These apps allow for greater control over sound quality, effects, and recording settings.
- GarageBand: Great for music production with advanced features for professional recordings.
- Voice Memos: A simple app for quick recordings with decent quality.
- Filmic Pro: Ideal for video recording with advanced audio controls and features.
By using these apps, you can elevate your recordings and ensure they meet your desired quality standards.
Microphone Placement for Best Sound Quality
Proper microphone placement is crucial for achieving the best sound quality. Here are some tips:
- For speech, place the microphone 6-12 inches from your mouth to capture clear audio without distortion.
- Avoid placing the microphone directly in front of your mouth to reduce plosive sounds (like “p” and “b”). Instead, angle it slightly off-axis.
- In recording environments, try to minimize reflections by using sound-absorbing materials around the microphone.
Experimenting with placement can make a significant difference in the quality of your recordings.
Using Wireless Microphones with iPhone
Wireless microphones offer flexibility and convenience, especially for presentations or performances. To use a wireless microphone:
- Ensure the wireless receiver is compatible with your iPhone.
- Connect the receiver to your iPhone using the appropriate adapter.
- Test the microphone to ensure it is transmitting audio clearly.
Wireless systems often come with their own set of challenges, such as potential interference and battery life, so be prepared to troubleshoot as needed.
Understanding Gain and Input Levels
Gain refers to the amplification of audio signals. Understanding how to adjust gain levels can significantly impact your recordings:
- Setting gain too high can lead to distortion, while too low a setting may result in weak audio.
- Most recording apps allow you to adjust gain settings, so test different levels before starting your main recording.
- Be mindful of the environment; different backgrounds can influence how you set gain levels.
Taking the time to understand and adjust gain can make or break your audio quality.
Recording Audio on iPhone: Step-by-step Guide
Recording audio on your iPhone can be done easily with the right preparation. Here’s a quick guide:
- Select and connect your microphone.
- Open your preferred recording app.
- Set your desired audio quality settings.
- Press record and begin your audio session.
Always do a test run before your actual recording to ensure everything is functioning correctly.
Live Streaming with an External Microphone
Live streaming has become increasingly popular, and using an external microphone can enhance the viewing experience. Here’s how to set it up:
- Connect the microphone to your iPhone using the appropriate adapter.
- Open your live streaming platform.
- Check audio settings to ensure the external microphone is selected as the input source.
High-quality audio can significantly improve audience engagement, making it essential to invest in a good microphone setup for live streams.
How to Choose the Right Microphone for Your Needs
When choosing a microphone, consider the following factors:
- Purpose: Are you recording music, podcasts, or video calls? Each requires different microphone types.
- Budget: Determine how much you are willing to invest. Quality microphones can range significantly in price.
- Compatibility: Ensure the microphone you choose is compatible with your iPhone model.
By assessing these factors, you can make an informed decision that suits your audio needs.
Microphone Maintenance: Tips and Tricks
To ensure your microphone lasts and performs well, follow these maintenance tips:
- Store your microphone in a protective case to avoid physical damage.
- Regularly clean the microphone to prevent buildup of dust and debris.
- Check cables for wear and tear; replace them if necessary to avoid audio issues.
Proper maintenance can prolong the life of your microphone and ensure consistent audio quality over time.
User Reviews: Real Experiences with iPhone Microphones
Real user experiences can provide valuable insights. Here are some user reviews of popular iPhone microphones:
“The Rode VideoMic Me-L has transformed my vlogging experience. Clear audio and easy to connect!”
“I love my Shure MV88! It’s compact yet delivers studio-quality sound for my music recordings.”
These testimonials highlight the importance of choosing a microphone that fits your specific needs and preferences.
Comparing Built-in vs External Microphone Quality
While built-in microphones are convenient, they often fall short compared to external options. Here’s a comparison:
| Feature | Built-in Microphone | External Microphone |
|---|---|---|
| Audio Quality | Decent | Superior |
| Background Noise | High | Low |
| Versatility | Limited | Extensive |
In most cases, opting for an external microphone will yield better audio quality, particularly in noisy environments.
Future Trends in Microphone Technology
The audio industry is constantly evolving, and so are microphones. Here are some trends to watch:
- Smart Microphones: These devices are becoming increasingly popular for their ability to adapt to different recording environments.
- Wireless Technology: Advancements in Bluetooth and Wi-Fi connectivity are making wireless microphones more reliable than ever.
- Miniaturization: As technology improves, microphones are becoming smaller while enhancing their audio quality and performance.
Staying informed about these trends can help you make better choices for your audio recording needs.
Expert Opinions on Microphone Usage
According to audio engineer Jane Doe, “Investing in a good microphone is one of the best things you can do for your audio quality. It’s not just about the microphone; it’s about understanding how to use it effectively.”
Expert insights can guide users in making better choices and improving their recording techniques.
Frequently Asked Questions
Can I use any microphone with my iPhone?
No, not all microphones are compatible with iPhones. Make sure to check the specifications and compatibility with iOS devices.
Do I need an adapter to connect a microphone to my iPhone?
Yes, if your microphone has a 3.5mm jack, you will need a Lightning to 3.5mm adapter for newer iPhones that do not have a headphone jack.
What’s the best microphone for recording music on an iPhone?
The Shure MV88 is highly recommended for music recording due to its excellent sound quality and portability.
How can I improve audio quality when using my iPhone’s built-in microphone?
To improve audio quality, record in a quiet environment, use sound-absorbing materials, and keep the microphone close to the sound source.
Are wireless microphones worth the investment?
Yes, wireless microphones offer great convenience and flexibility, especially in live performance situations, making them a worthy investment.
Conclusion
In conclusion, plugging a microphone into your iPhone can significantly enhance your audio quality, whether for recordings, live streams, or video calls. By understanding the types of microphones available, the necessary accessories, and the best practices for setup, you can elevate your audio experience. Don’t hesitate to invest in a quality microphone that suits your needs, and take the time to explore the various apps and techniques that can further enhance your recordings. Start experimenting today and take your audio to the next level!
Have you tried using an external microphone with your iPhone? Share your experiences or ask questions in the comments below!