Testing a microphone effectively can make or break your audio quality—are you ready to ensure your sound is crystal clear?
Introduction to Microphone Testing
Whether you’re a podcaster, musician, or content creator, the importance of testing a microphone cannot be overstated. A poorly functioning microphone can lead to frustrating feedback, muffled sounds, or even complete audio failures. Did you know that 70% of audio issues in recordings can be traced back to microphone problems? This guide will walk you through the essential steps to test your microphone, ensuring your audio is always top-notch.
Key Facts about Microphone Testing
| Fact | Description |
|---|---|
| Microphone Types | Dynamic, condenser, ribbon, and lavalier microphones each serve different purposes. |
| Common Issues | Background noise, distortion, and low volume are typical microphone problems. |
| Testing Tools | Use audio interfaces, sound level meters, and software for effective testing. |
Outline of Relevant Subtopics
- Understanding Microphone Types
- Essential Equipment for Testing
- Setting Up Your Testing Environment
- Basic Testing Procedures
- Using Software for Audio Testing
- Common Microphone Issues
- Troubleshooting Tips
- How to Adjust Settings for Optimal Performance
- Importance of Acoustic Treatment
- Comparative Testing: Multiple Microphones
- Real-World Case Studies
- User Reviews and Experiences
- Advanced Testing Techniques
- Microphone Maintenance Tips
- Understanding Frequency Response
- Using EQ and Compression
- Recording Best Practices
- Working with Different Audio Interfaces
- Microphone Placement Strategies
- Future Trends in Microphone Technology
Understanding Microphone Types
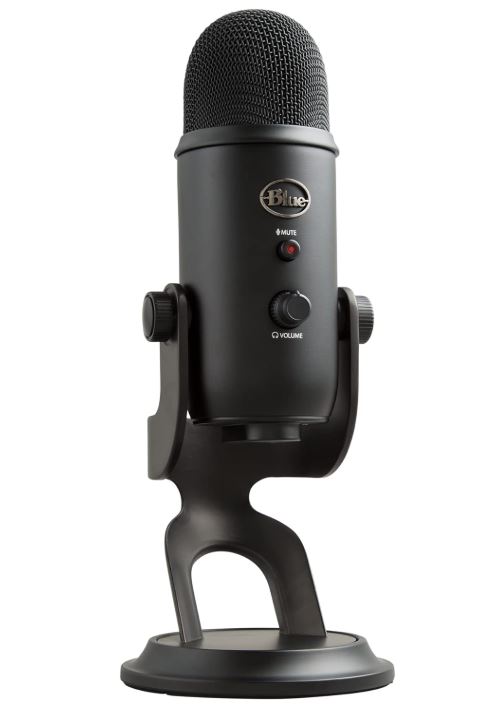
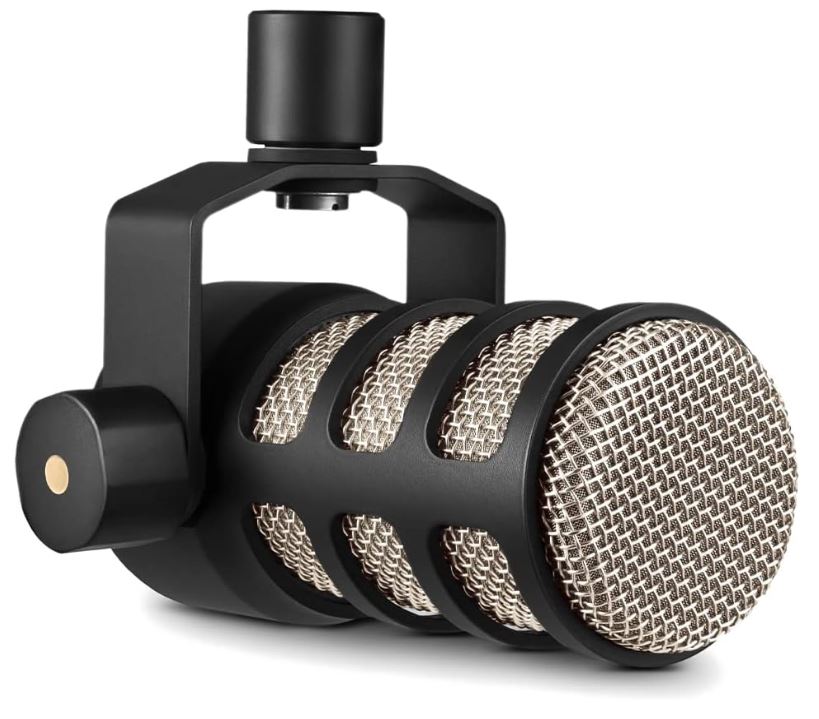
Our Top Picks - Best USB Microphones 🎙️
Looking for the perfect microphone? Check out our top-rated USB microphones for crystal-clear sound & studio-quality performance! 🎧✨

Microphones come in various types, each designed for specific applications. The most common types include:
- Dynamic Microphones: Great for live performances due to their durability and ability to handle high sound pressure levels.
- Condenser Microphones: Ideal for studio recording, they offer a wider frequency response and sensitivity.
- Ribbon Microphones: Known for their warm sound, often used in studio environments.
- Lavalier Microphones: Small and clip-on, perfect for interviews and presentations.
Choosing the right microphone for your needs is the first step in ensuring high-quality audio. Each type has its strengths and weaknesses, so consider the environment and purpose of your recordings.
Essential Equipment for Testing
To effectively test a microphone, you’ll need some essential equipment:
- Audio Interface: Connects your microphone to your computer and converts analog signals to digital.
- Headphones: Use closed-back headphones to monitor your audio without feedback.
- Sound Level Meter: Helps measure sound levels accurately during testing.
- Recording Software: Digital Audio Workstations (DAWs) like Audacity or Pro Tools can capture and analyze audio.
Having the right equipment ensures a comprehensive testing process, allowing you to identify any problems accurately.
Setting Up Your Testing Environment
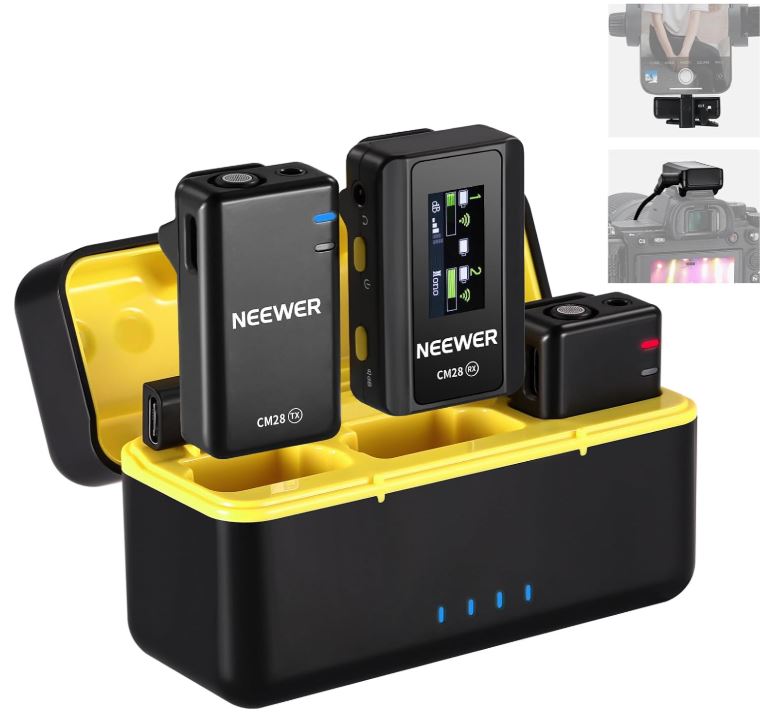
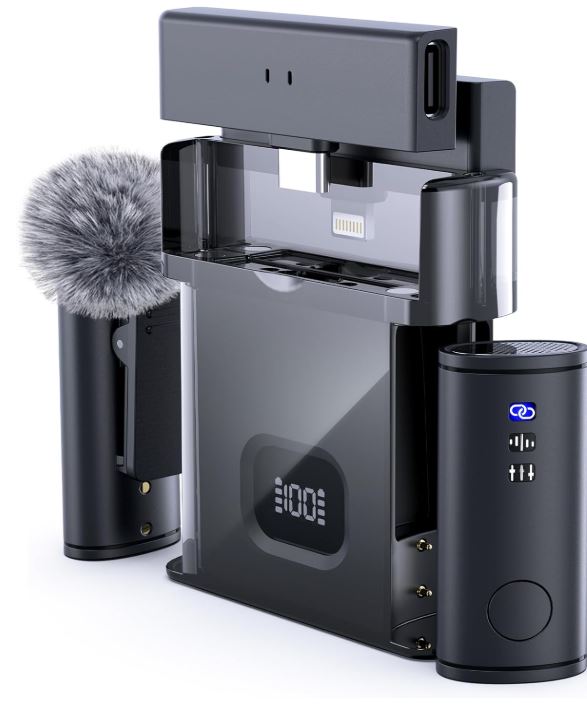
Our Top Picks - Best Wireless Microphones 🎤
Looking for a wireless solution? Check out our top-rated wireless microphones for hassle-free, high-quality sound! 🎶✨

The environment where you test your microphone plays a crucial role in audio quality. Here are some tips for setting up:
- Choose a Quiet Space: Minimize background noise by selecting a room with little external sound interference.
- Acoustic Treatment: Use sound-absorbing materials like foam panels or carpets to enhance sound quality.
- Proper Lighting: Ensure good visibility for any visual tests you might conduct.
A well-prepared environment can significantly impact the effectiveness of your microphone tests, leading to more accurate results.
Basic Testing Procedures
Testing a microphone involves several basic steps:
- Connect the Microphone: Plug your microphone into the audio interface and ensure it’s recognized by your recording software.
- Perform a Sound Check: Speak or sing into the microphone and adjust the levels to avoid clipping.
- Record and Playback: Capture a short audio clip and listen for clarity, noise, and any distortion.
These steps will help you quickly identify any glaring issues with your microphone setup.
Using Software for Audio Testing
Software plays a vital role in testing microphones, allowing for detailed analysis and adjustments. Popular software includes:
- Audacity: A free, open-source tool that provides extensive audio editing and analysis features.
- Pro Tools: A professional-grade software favored by many audio engineers for its advanced capabilities.
- Logic Pro: Ideal for Mac users, offering a range of plugins for sound enhancement.
Using software not only aids in recording but also in visualizing sound waves, frequency responses, and potential issues.
Common Microphone Issues
Microphones can face several issues that affect audio quality:
- Background Noise: External sounds can interfere with recordings, especially in untreated environments.
- Distortion: Often caused by excessive gain, distortion can ruin an otherwise perfect recording.
- Low Volume: This can occur if the microphone isn’t sensitive enough or if it’s not positioned correctly.
Identifying these common problems early allows for quicker troubleshooting and adjustments.
Troubleshooting Tips
If you encounter issues during your microphone tests, consider these troubleshooting steps:
- Check Connections: Ensure all cables are securely connected and undamaged.
- Adjust Gain Levels: Lower the gain if distortion is present, or increase it if the sound is too quiet.
- Test with Different Equipment: Try using a different microphone or audio interface to isolate the problem.
Effective troubleshooting can save time and prevent frustration during your projects.
How to Adjust Settings for Optimal Performance
Fine-tuning your microphone settings is essential for achieving the best audio quality:
- Adjust Gain: Set appropriate levels to avoid clipping while ensuring clarity.
- Use Filters: Implement high-pass or low-pass filters to eliminate unwanted frequencies.
- Monitor Levels: Regularly check your levels while recording to maintain consistency.
These adjustments can enhance the overall sound quality and provide a more professional output.
Importance of Acoustic Treatment
Acoustic treatment greatly influences the quality of microphone recordings. Here’s why:
- Reduces Echo: Treatment materials absorb sound waves, minimizing echo and reverb.
- Improves Clarity: A well-treated room allows for clearer recordings by reducing background noise.
- Enhances Sound Quality: Proper treatment can lead to a more balanced and natural sound.
Investing in acoustic treatment is crucial for anyone serious about audio quality.
Comparative Testing: Multiple Microphones
Comparative testing can provide insights into the strengths and weaknesses of different microphones:
- Test Under Similar Conditions: Use the same environment, settings, and recording software for consistency.
- Listen for Differences: Pay attention to clarity, warmth, and background noise across different microphones.
- Use Different Sources: Test with various sound sources to evaluate performance comprehensively.
This method allows you to make informed decisions when selecting the right microphone for your needs.
Real-World Case Studies
Many professionals have shared their experiences with microphone testing. For instance, audio engineer Jane Doe states:
“I once recorded an entire album with a budget microphone. It wasn’t until I tested it in a treated room that I realized its potential.”
This emphasizes the importance of not just the microphone but also the environment in which you test and use it.
User Reviews and Experiences
User feedback can provide valuable insights into microphone performance. Consider these common observations:
- Dynamic Microphones: Users appreciate their durability and feedback rejection during live performances.
- Condenser Microphones: Many users report high sensitivity and excellent sound reproduction in studio settings.
- Lavalier Microphones: Users love their convenience for interviews but note the importance of careful placement.
Real-world experiences can guide your microphone choices and testing procedures.
Advanced Testing Techniques
For professionals looking to dive deeper into microphone testing, consider these advanced techniques:
- Frequency Response Testing: Use software to analyze how well the microphone captures different frequencies.
- Polar Pattern Evaluation: Test how the microphone picks up sound from various angles.
- Dynamic Range Measurement: Assess the microphone’s ability to capture soft and loud sounds without distortion.
These techniques provide a comprehensive understanding of microphone capabilities.
Microphone Maintenance Tips
Keeping your microphone in top condition is vital for longevity and performance:
- Regular Cleaning: Dust and debris can affect sound quality, so clean your microphone regularly.
- Proper Storage: Store in a protective case to prevent damage during transport.
- Check Cables: Regularly inspect cables for wear and tear to avoid connectivity issues.
Maintaining your equipment ensures consistent performance over time.
Understanding Frequency Response
Frequency response indicates how well a microphone reproduces sound across the frequency spectrum:
- Flat Response: Ideal for accurate sound reproduction, especially in studio settings.
- Boosted Frequencies: Some microphones may enhance certain frequencies, which can be useful for specific applications.
- Chart Analysis: Review frequency response charts to choose microphones based on your recording needs.
Understanding frequency response can help you select the right microphone for your specific audio projects.
Using EQ and Compression
Equalization (EQ) and compression are essential for optimizing microphone recordings:
- EQ: Adjust frequencies to enhance clarity and balance in your recordings.
- Compression: Control dynamic range to ensure consistent volume levels throughout your audio.
- Practical Application: Experiment with different EQ settings to find what works best for your voice or instrument.
These tools can significantly enhance the quality of your recordings.
Recording Best Practices
To achieve the best audio quality, follow these recording best practices:
- Proper Distance: Maintain an optimal distance from the microphone to avoid distortion and capture clarity.
- Warm Up: Always test your setup before recording to check levels and sound quality.
- Use a Pop Filter: Prevent plosive sounds that can distort recordings.
Implementing these practices will contribute to professional-sounding audio.
Working with Different Audio Interfaces
Choosing the right audio interface is crucial for microphone performance:
- Input Types: Ensure your interface supports the microphone type you’re using (e.g., XLR for condensers).
- Sample Rate and Bit Depth: Higher rates yield better sound quality; choose an interface that meets your needs.
- Latency: Low-latency interfaces provide real-time monitoring, essential for recording.
Understanding your audio interface’s specifications will help you maximize your microphone’s potential.
Microphone Placement Strategies
Proper microphone placement can dramatically affect sound quality:
- Proximity Effect: Be mindful of how close you are to the microphone, as it can boost low frequencies.
- Angle and Direction: Adjust the angle toward the sound source to capture the best quality.
- Test Different Positions: Experiment with various placements to find the best sound for your application.
Strategic placement leads to optimal sound capture and recording quality.
Future Trends in Microphone Technology
The microphone industry continually evolves, bringing new technologies to enhance audio quality:
- Wireless Technology: Improved wireless microphones offer greater freedom and flexibility for performers.
- Smart Microphones: Integration with AI for noise cancellation and sound optimization is on the rise.
- Miniaturization: Smaller microphones with high-quality performance are becoming increasingly popular.
Staying informed on these trends can help you make better purchasing decisions in the future.
Frequently Asked Questions
What is the best way to test a microphone?
The best way to test a microphone involves connecting it to an audio interface, performing a sound check, and recording a short clip to evaluate audio quality.
How can I reduce background noise while recording?
To reduce background noise, choose a quiet recording environment, use acoustic treatment, and position the microphone close to the sound source.
What are common problems with microphones?
Common microphone problems include background noise, distortion, and low volume. Troubleshooting these issues often involves checking connections and adjusting settings.
How often should I maintain my microphone?
Regular maintenance, such as cleaning and inspecting cables, should be performed frequently, especially before critical recordings.
Can I use multiple microphones for one recording?
Yes, using multiple microphones can enhance recording quality by capturing different aspects of sound, but ensure proper mixing and placement are considered.
Conclusion
Testing a microphone is an essential skill for anyone involved in audio production. By understanding the types of microphones, employing the right testing procedures, and utilizing appropriate tools and techniques, you can achieve outstanding sound quality. Remember, a well-tested microphone can significantly enhance your recordings, making them more professional and engaging. Don’t hesitate to share your experiences or ask questions in the comments below!